Stamp Pattern

Basic Information
| MachineLX1 |
| MaterialWood |
| Size126 x 101 mm |
| Material InformationRubber |
| Software UsedLaserPecker Design Space PC |
| Production Time30 min |
| Engraving Difficulty |
How-to Tutorial
Step 1
Open the file and connect the machine. Begin by placing a piece of 2mm thick rubber material on the cutting plate. Adjust the focal length, verify the size, preview the position, and determine the engraving parameters. Once everything is set, proceed to start engraving and cutting.
If you're using planks or materials of different thicknesses, remember to adjust the parameters accordingly.
After engraving, use a toothbrush to clean the dust off the surface.
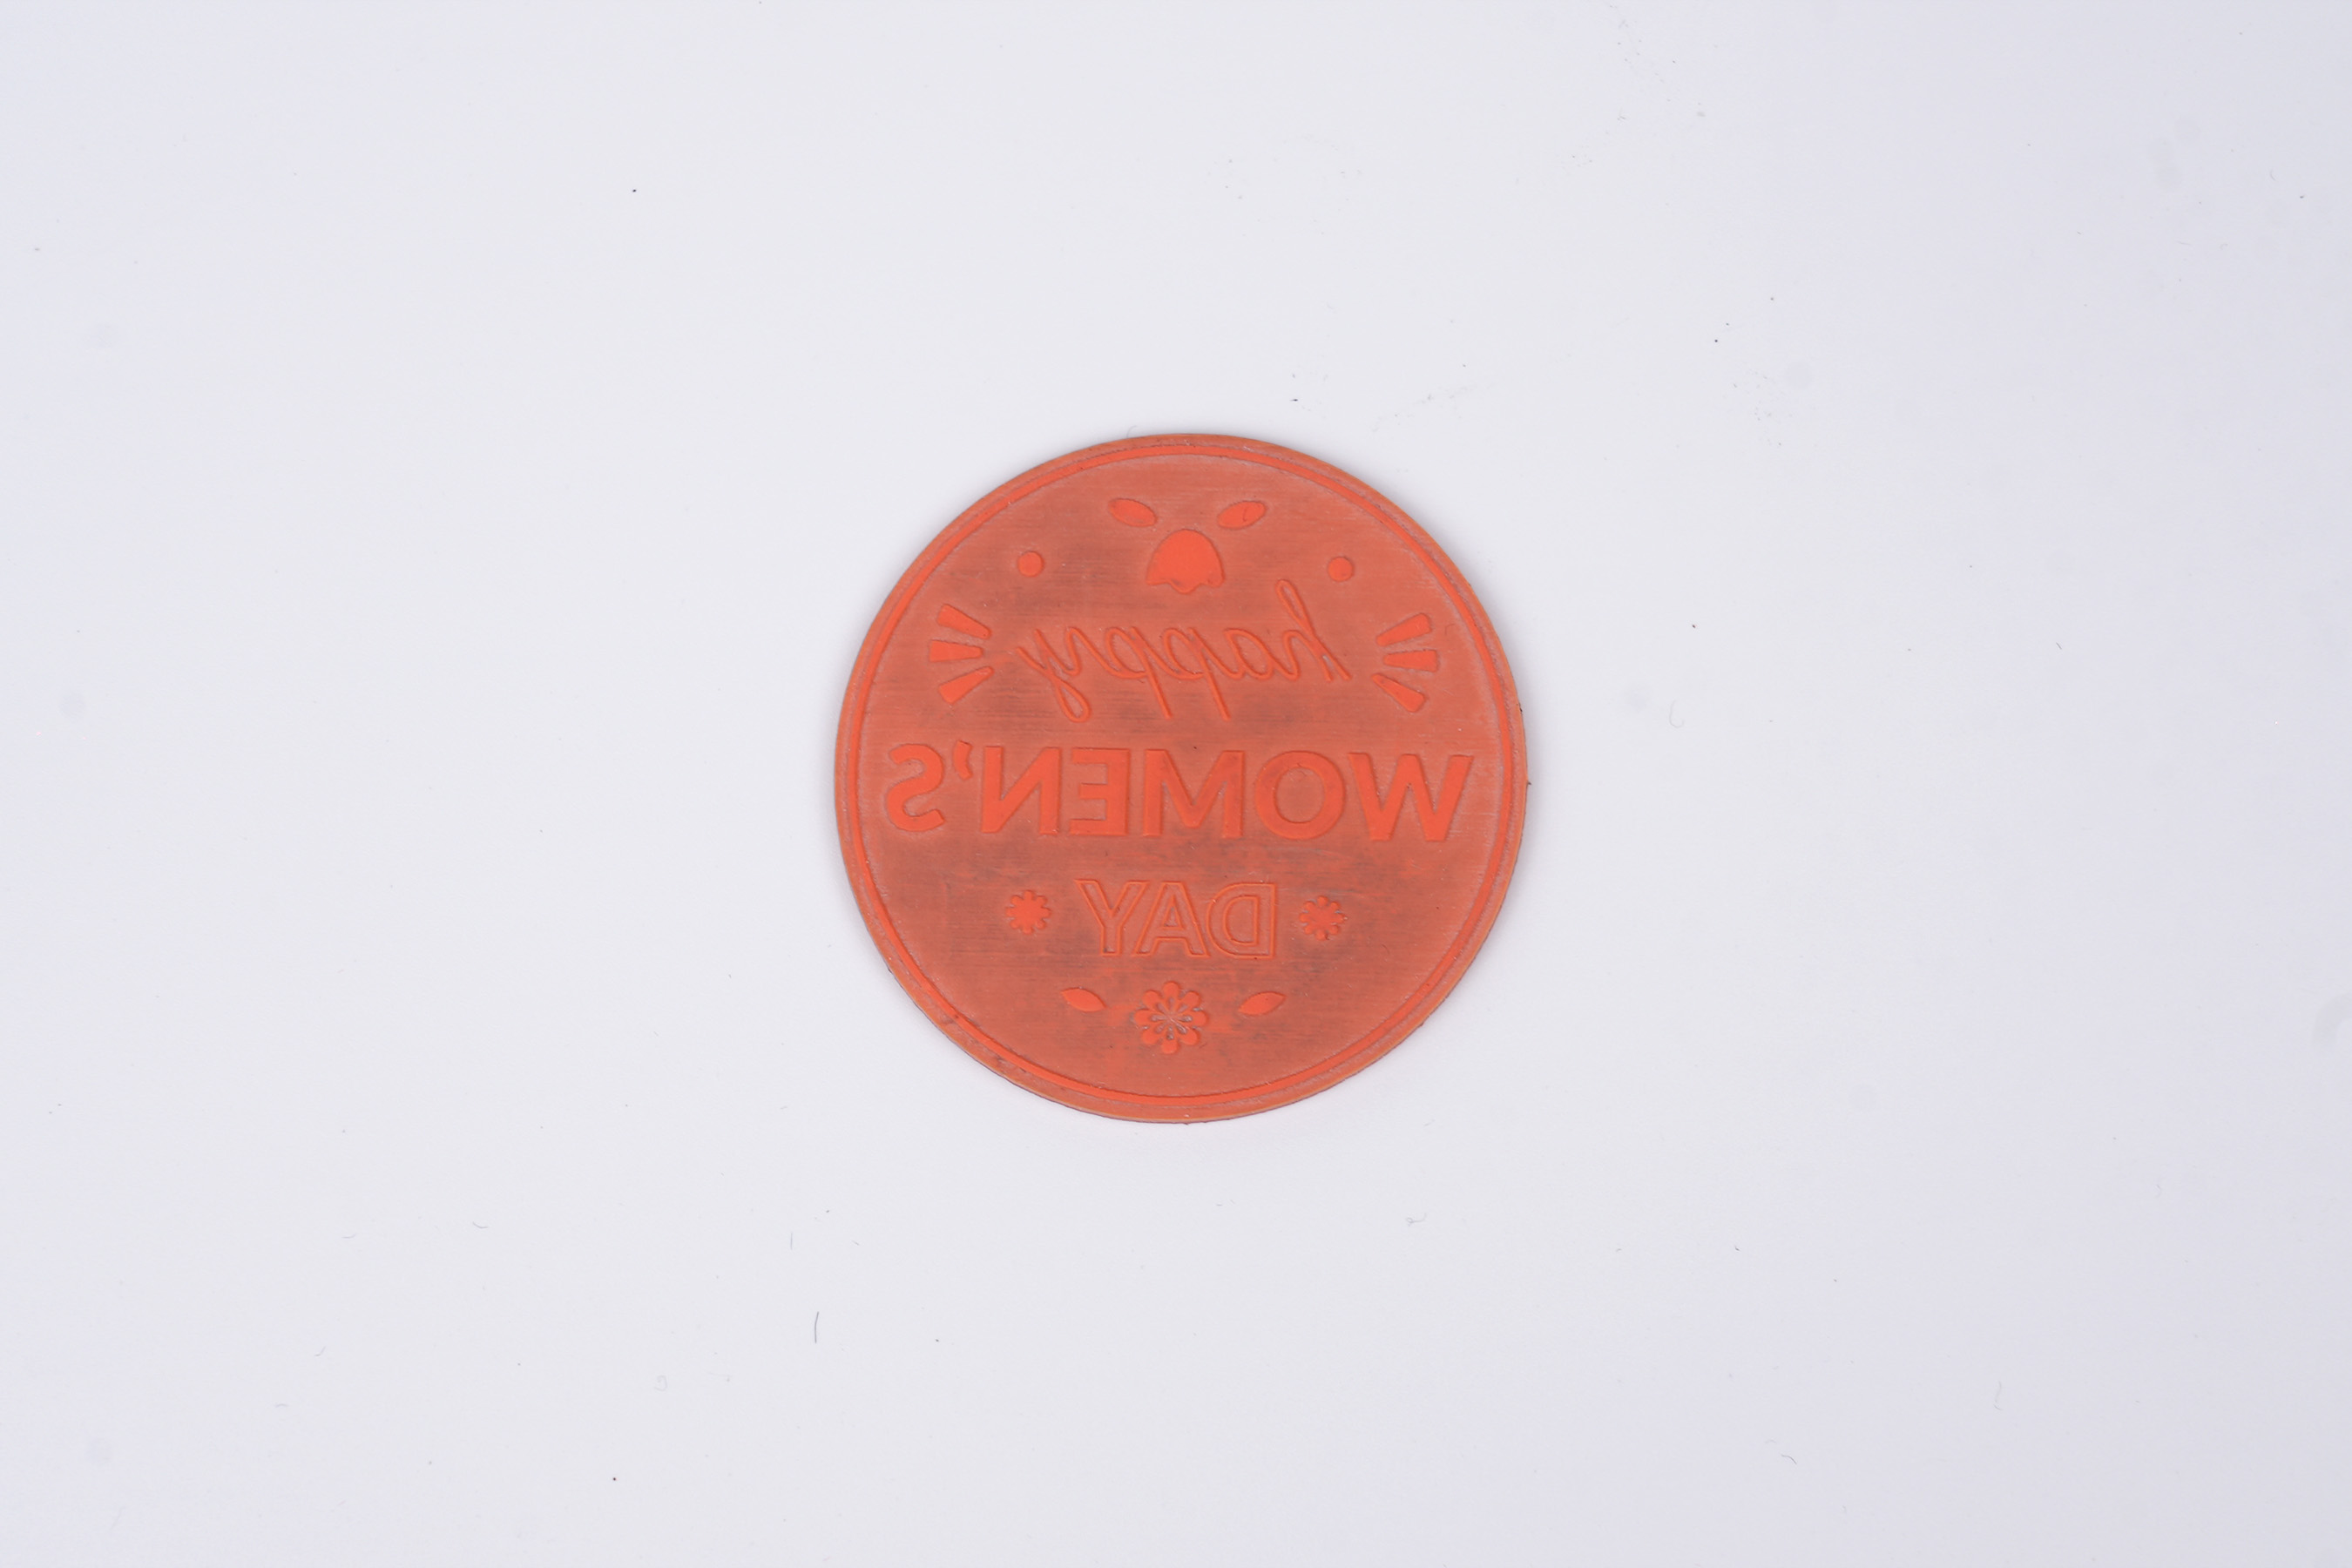
Settings 1
| Engraving MethodFill |
| MaterialPlastic |
| Resolution2 K |
| Power100% |
| Depth15% |
| Pass1 |
| Acceleration Level1 |
| Module Type20 W 450 nm |
Settings 2
| Engraving MethodLine |
| MaterialPlastic |
| Power100% |
| Depth90% |
| Pass1 |
| Acceleration Level1 |
| Module Type20 W 450 nm |
Step 2
Open another file. Begin by placing a 3mm basswood plank on the cutting plate. Adjust the focal length, verify the size, preview the position, and determine the engraving parameters. Once everything is set, proceed to start cutting.
This file is only applicable to 3mm basswood planks. Other thicknesses of wood may not be able to be assembled. Additionally, if you use different materials, you will need to adjust the parameters yourself.
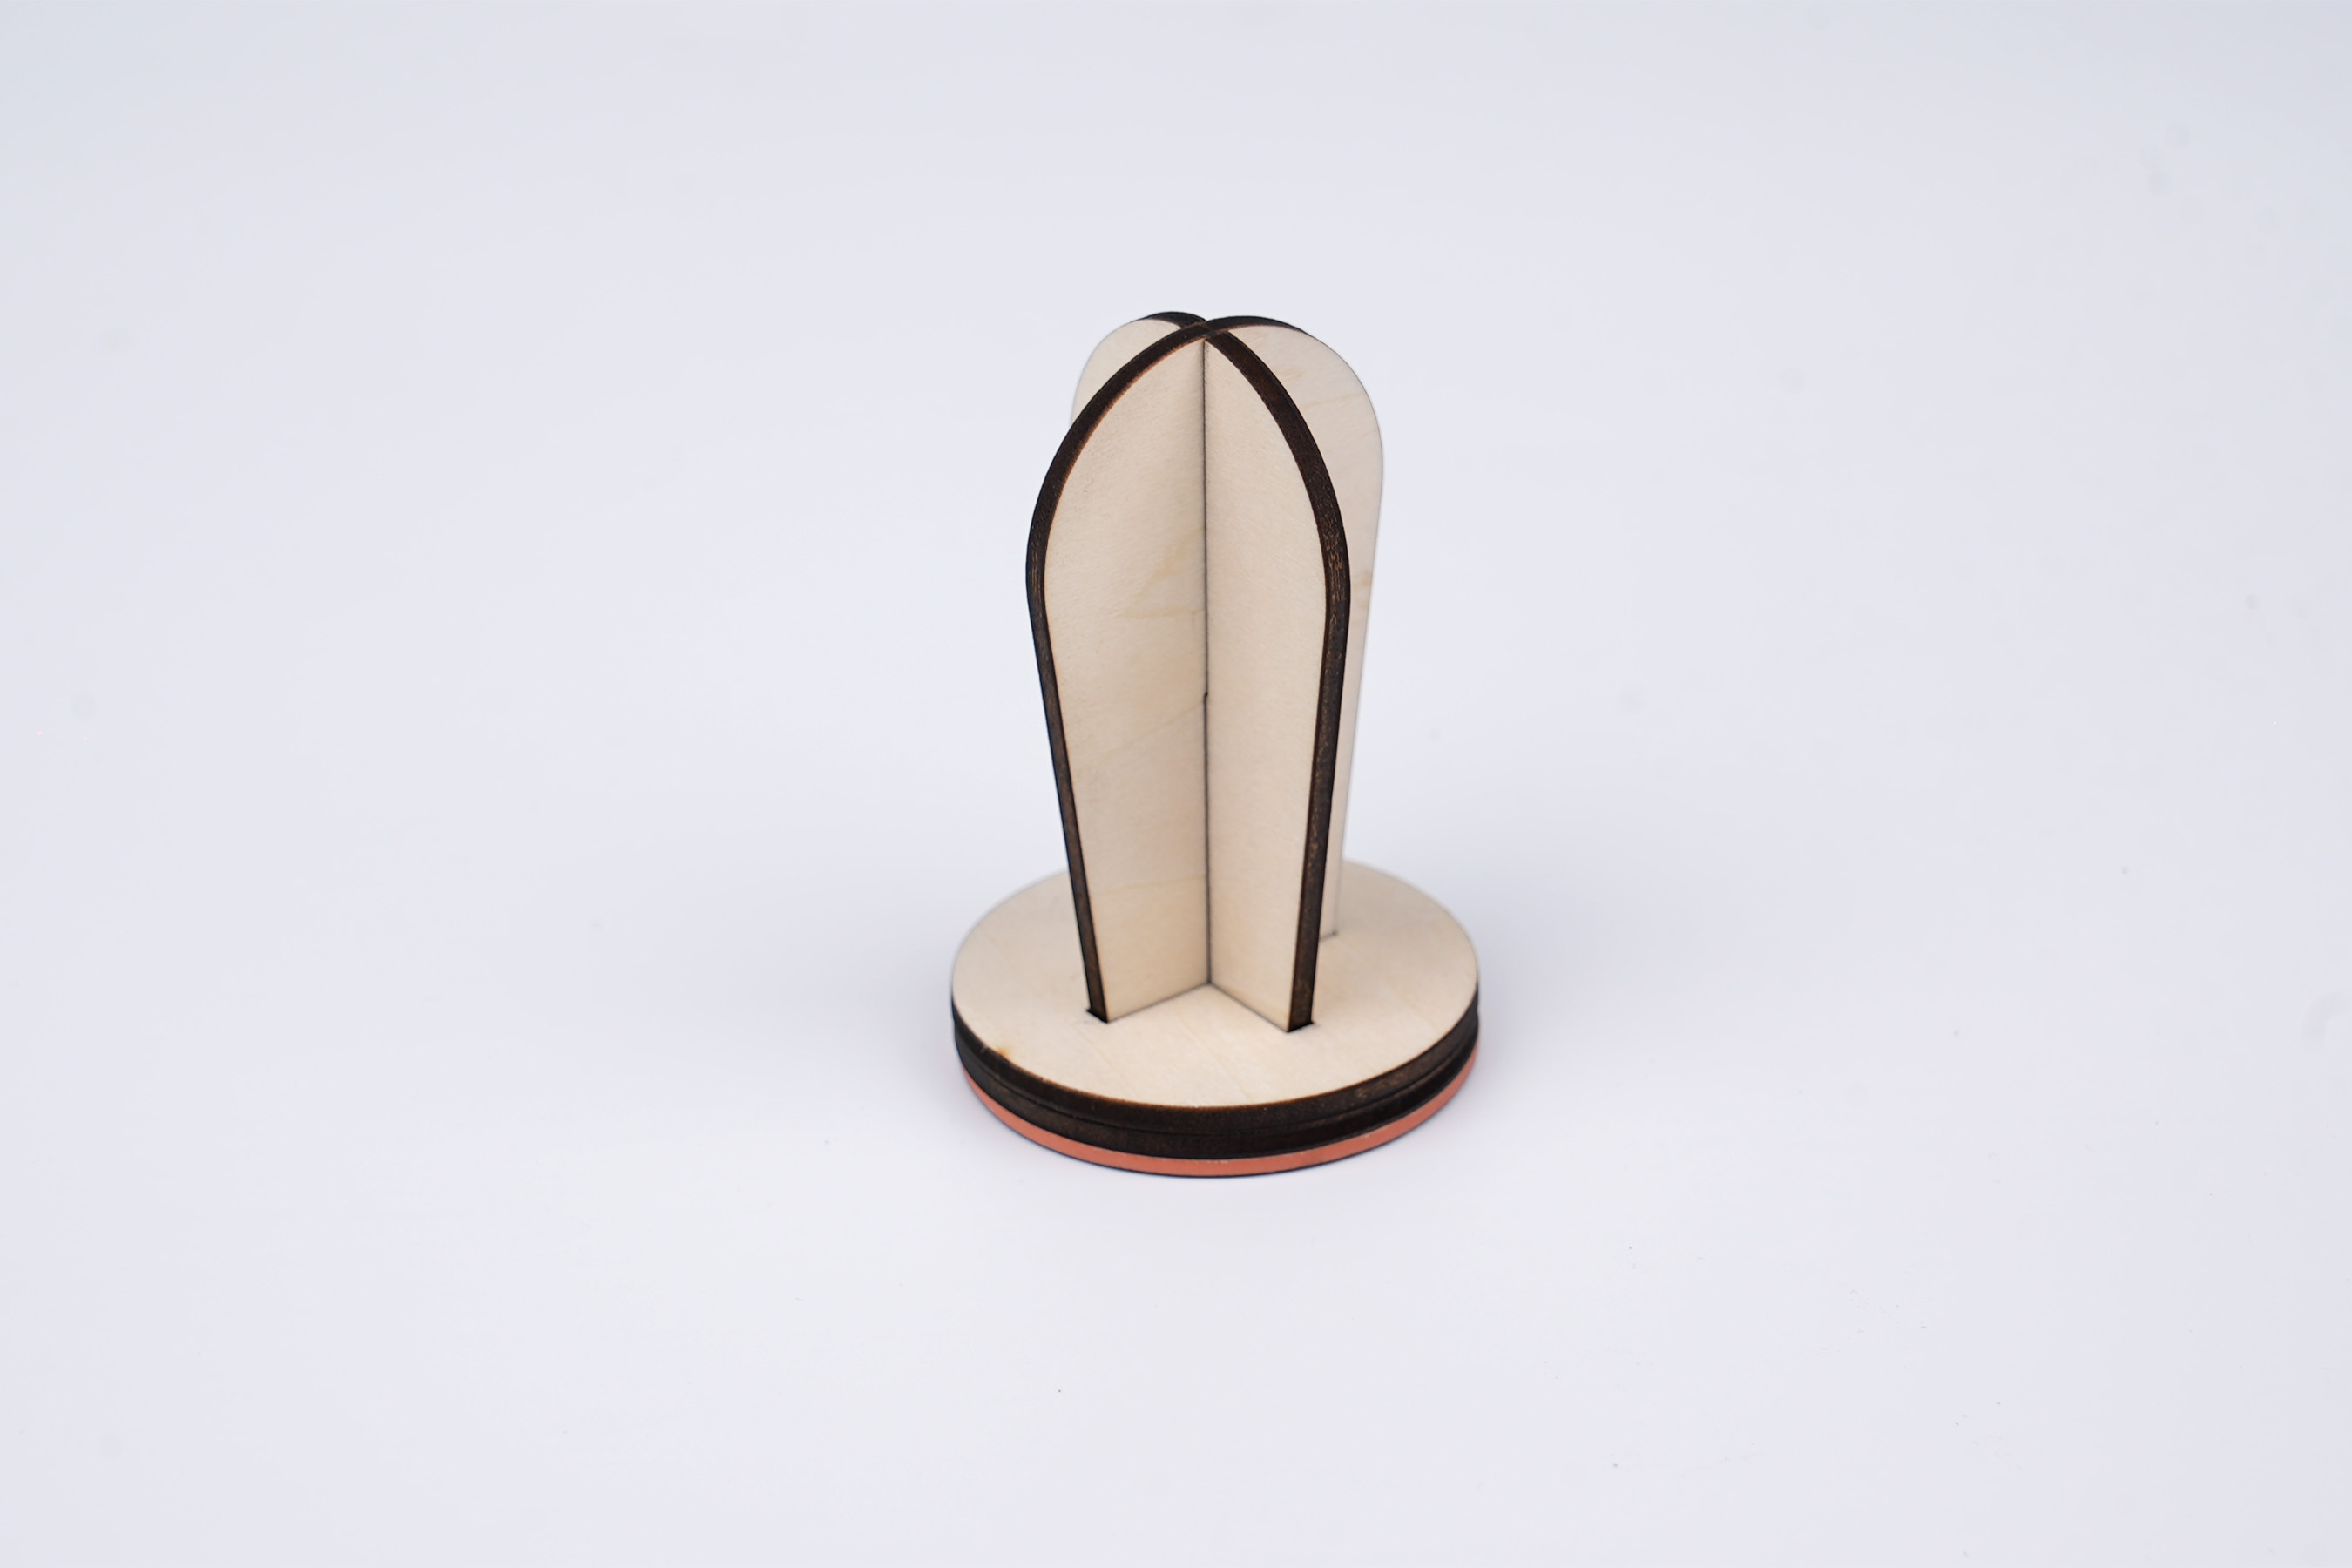
Once you put the pieces together, it will be fully functional and ready to use.
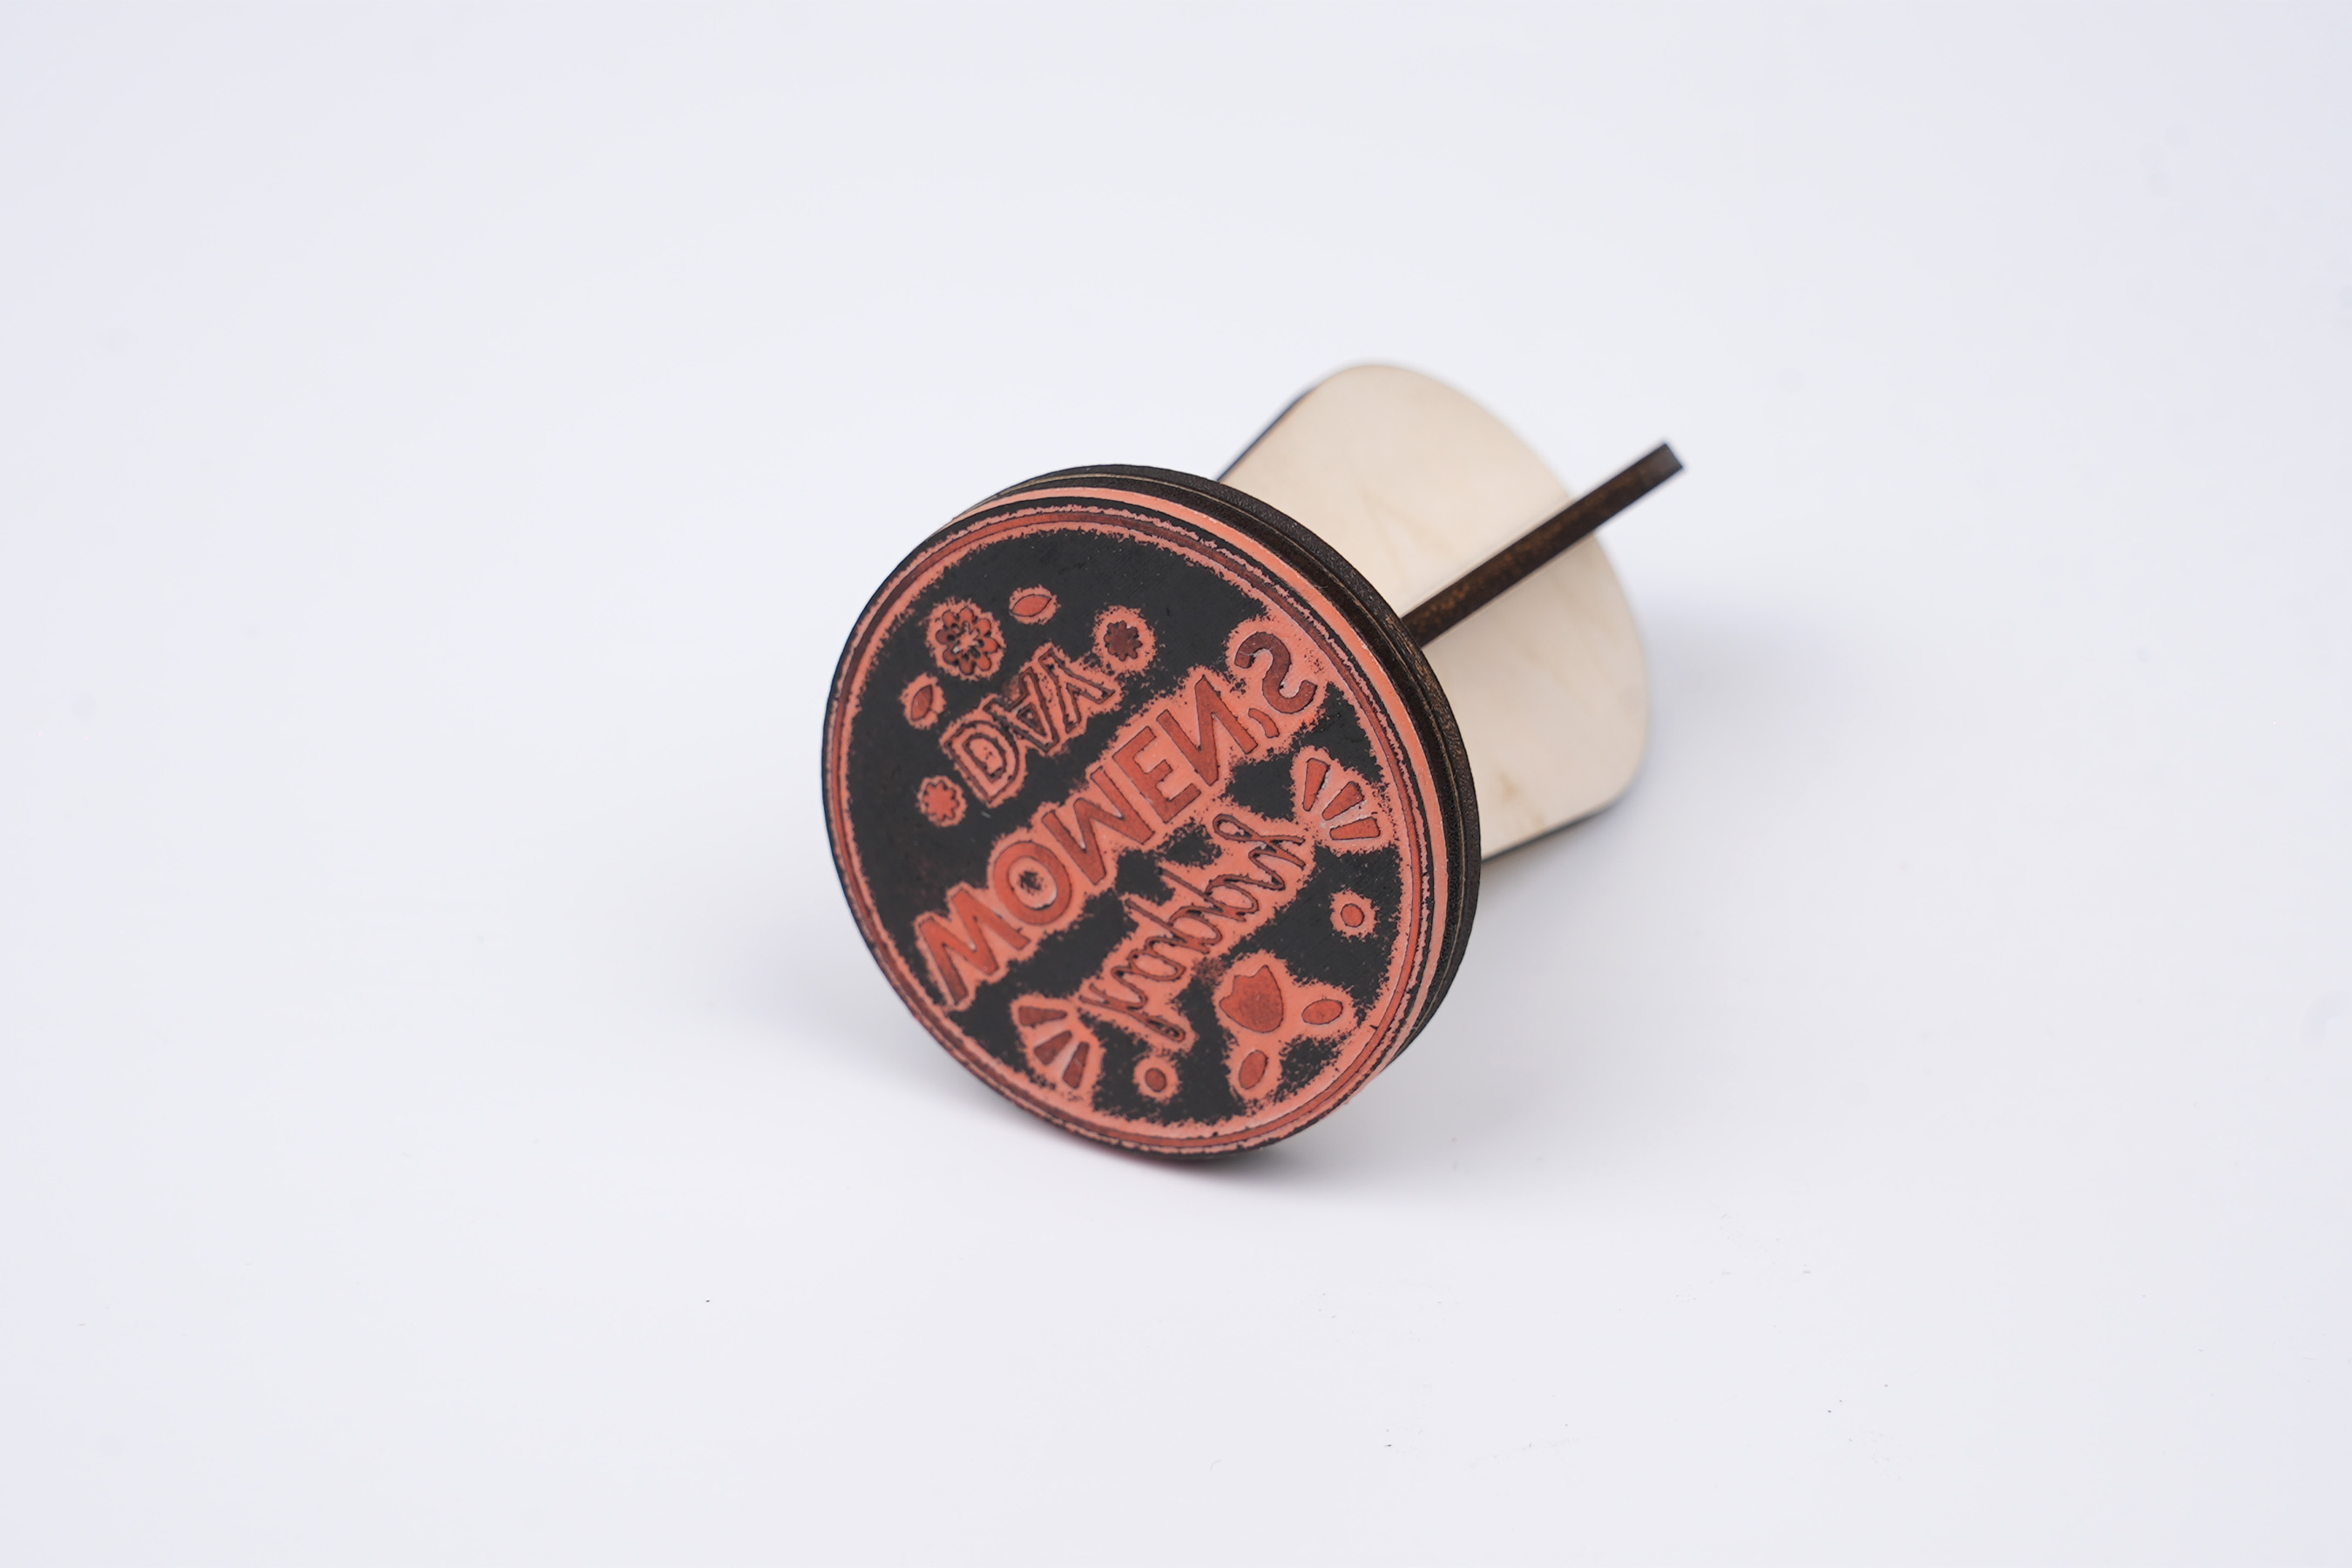
Settings 1
| Engraving MethodLine |
| MaterialWood |
| Power70% |
| Depth80% |
| Pass1 |
| Acceleration Level1 |
| Module Type20 W 450 nm |
Design Files
LaserPecker Design Space V2.5.1 or above is recommended.