Santa’s Wreath: A Brass Coin Deep Engraving Masterpiece

Basic Information
| MachineLP5 |
| MaterialMetal |
| Size36 x 36 mm |
| Material InformationBrass Coin. Came with the material set included with LP5. 2mm thick |
| Engraving Difficulty |
How-to Tutorial
Step 1 Create Front Santa Image
Tools Used:
- Microsoft Designer: https://designer.microsoft.com/
Navigate to the URL https://designer.microsoft.com/ . Here choose create in the upper right hand corner. Add a description of the image you would like generated.
For me I used:
"bas relief of a carving from marble of Santa's head surrounded by a Christmas wreath"
This gave me the following image:
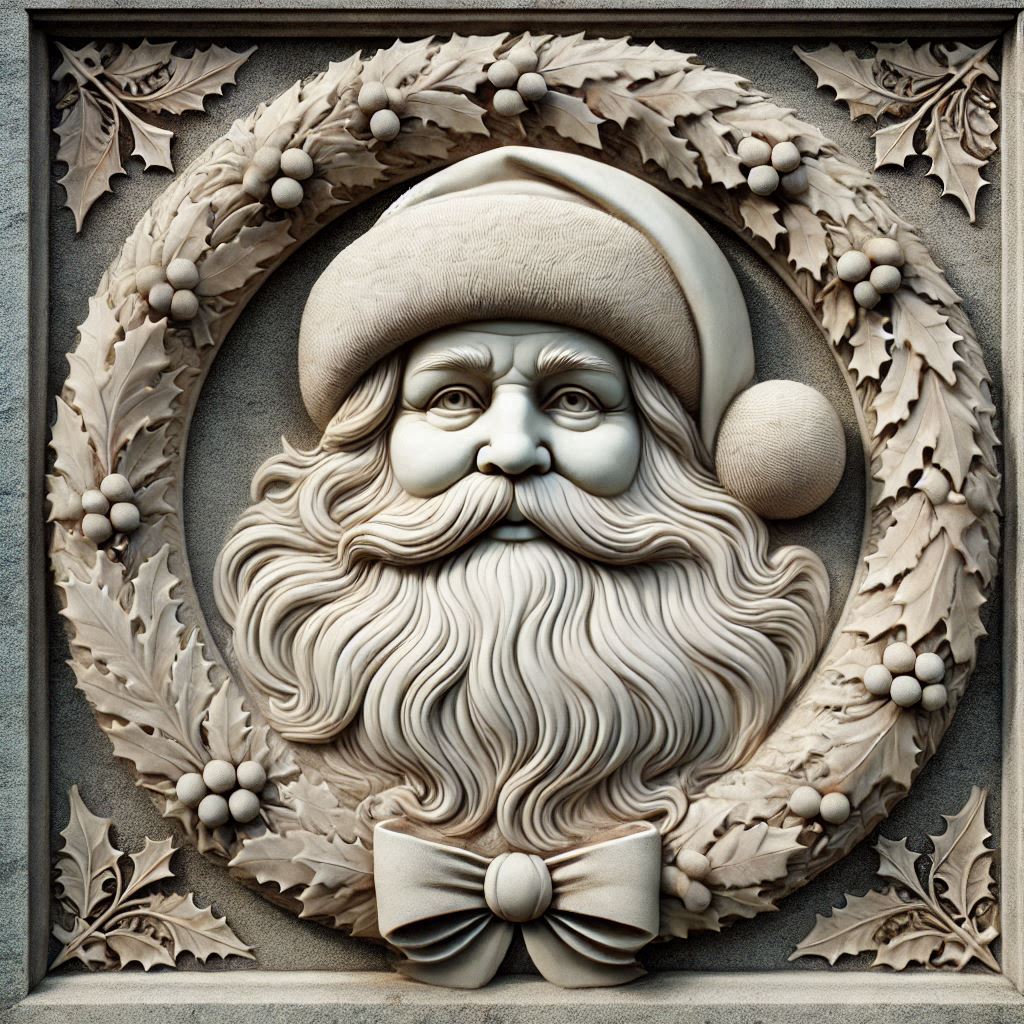
Save to you PC for use in the next step.
Step 2 Convert image to Depth map
Tools Used:
- Tiling ZoeDepth: https://github.com/billfsmith/tilingzoedepth
- Google account
- You need a google account for this, so log in to your account, if you do not have one you will need to create one and log in.
- Once logged in you can proceed to the next step.
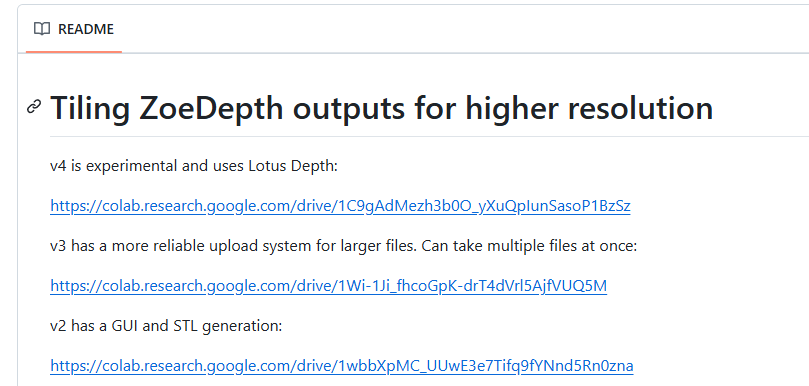
- Now we need to convert the image to a depth map which will be used in LaserPecker Design space to carve a 3D relief image into the brass coin. This can be done by using the free utility found here https://github.com/billfsmith/tilingzoedepth. Once on the page, in the README file in the Github repo click on the v3 link (https://colab.research.google.com/drive/1Wi-1Ji_fhcoGpK-drT4dVrl5AjfVUQ5M) for the tool. As of this writing v4 is available but it is in an experimental phase and as such I chose to use v3 which is currently more reliable.
- Next click connect in the upper right hand corner:
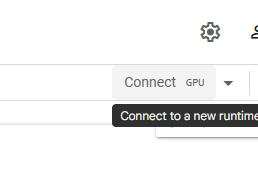
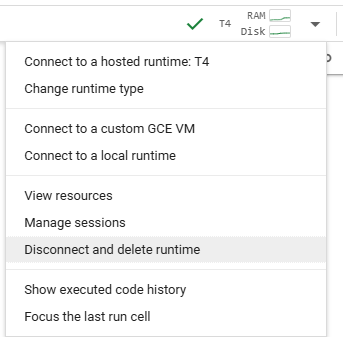
- Once connected click on the drop down arrow located next to the button you used to connect. Should look something like this:
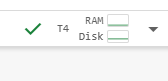
- Select "Change runtime type" and select "T4 GPU"
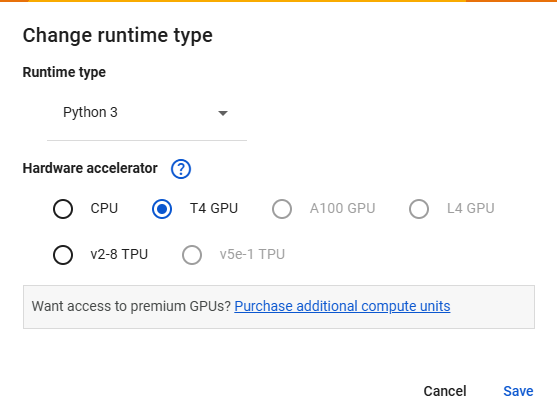
- Click save
- Next click anywhere in the section called "Code (press Ctrl + F9 to run)
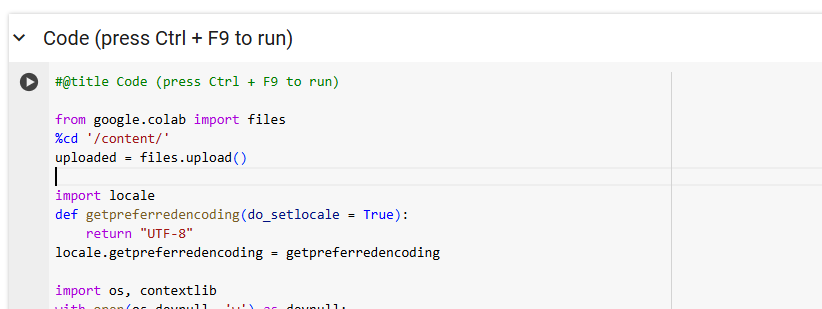
- You will get a warning as follows:
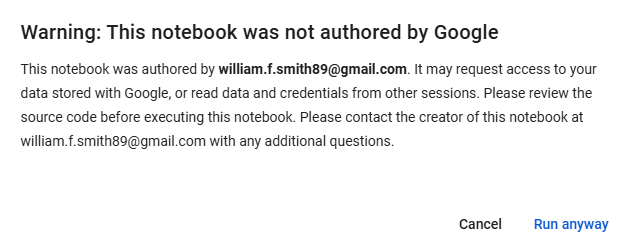
- In order to continue you need to click "Run anyway." I know this repo is widely used so I believe it to be trust worthy, but if you do not feel comfortable with this you will need to find an alternate method of converting your images.
- Next scroll to the botton of that section and click Choose Files
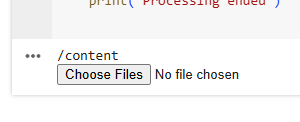
- Select the image you want to convert and now wait. This will take a little bit of time to complete. So just be patient.
- Once the process has finished you should have 2 files available. You want to grab the High Resolution image. You should be able to grab the file directly from your google account. If not you can right click on the image and select save as.
- Now that you have your image just disconnect from your session and proceed to next step. Disconnect by selecting the drop down in upper right again and selecting "Disconnect and delete runtime"
Step 3 Prepare depth map
Tool Used:
Gimp: https://www.gimp.org/downloads/
- The image we currently have is a square. But obviously the coin is round. We need to adjust the image so that we only include the circular shape of the wreath. You can download and install the free photo editing software listed above called GIMP. This will allow you to crop your image to a circle.
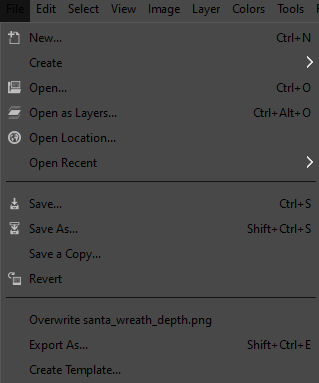
- Click File --> Open and choose your image. This is the depth map you created in previous step.
- Next you need to create a circle mask around the area you want to use as the engraving:
- Choose the Elipse Select tool as pictured below:
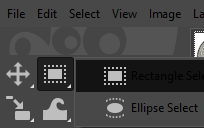
- Click on your image and select the area you would like to use. You can keep the elipse as a perfect circle by holding down the shift key as you resize. This is likely a necessary step as your coin is a perfect circle and you can ensure that the image fits perfectly on your intended surface. Next you need to remove the portion of the image you do not want. Click:
Select --> Invert to choose the opposite of what you currently have selected:

- Click delete to remove all the corners and leave only the circle portion of image you want. Resulting image should look similar to this:

- Now export the image to use in Design Space:
Click File --> Export As
- Save the image
Step 4 Front of coin Santa Engraving
Tools Used:
- LaserPecker Design Space
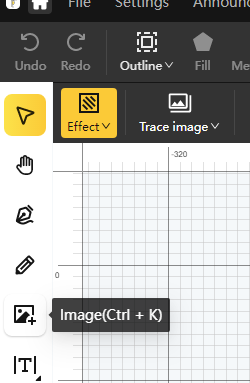
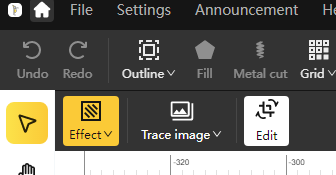
- Now we need to import the Depth Map image into Design Space and prepare it for engraving on the Brass Coin. Select image on the left hand side:
- Select your depth map image. Next ensure that the image is selected and choose "Edit" followed by "Magic Eraser":
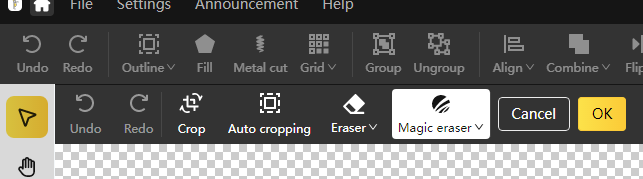
- Delete the unwated portions of your image. In this case it is the area outside of the circle of the wreath. Click ok.
- Next click "Effect" followed by 3D Greysacle
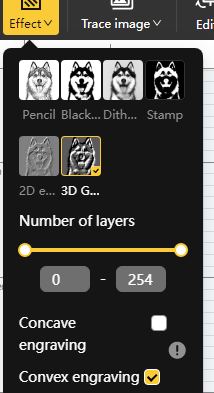
- Ensure Convex engraving is selected.
- For the brass coin that was included in the material set I used a width and height setting of 36.5mm, which fit perfectly inside the circumference of the coin.
You can now select the parameters for engraving. The parameters I used for this were:
- Resolution: 2k
- Module Type: 1064nm
- Pass: 1
- Power (%): 100
- Depth: 60
- Frequency: 26
- Click preview. Once focused line up the edges of the square so that each side is just touching the top, bottom and both sides of the inner circle of the coin. If you get this correct the engraving will be perfectly centered:
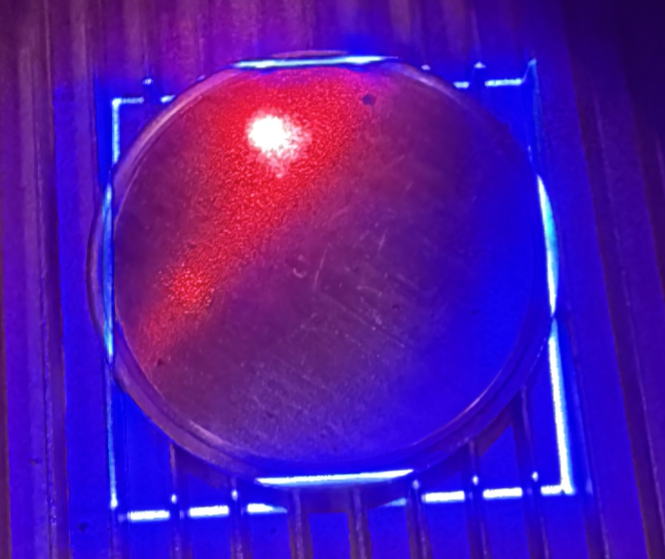
- Once everything is lined up and ready to go click Laser Engraving and start the process.
- There are 254 layers so this takes quite some time. Took a total of about 4 hours and 30 minutes for front of coin.
- When complete you can do a cleaning pass. I used
- Resolution: 2k
- Module Type: 1064nm
- Pass: 1
- Power (%): 20
- Depth: 1
- Frequency: 60
Settings 1
| Engraving MethodPicture |
| MaterialMetal |
| Resolution2 K |
| Power100% |
| Depth60% |
| Pass1 |
| Module Type20W 1064nm |
| Laser Frequency26 |
| Other ParametersGreyscale 3D, 254 layers, .01 |
Settings 2
| Engraving MethodFill |
| MaterialMetal |
| Resolution2 K |
| Power20% |
| Depth1% |
| Pass1 |
| Module Type20W 1064nm |
| Laser Frequency60 |
| Other ParametersThis is a cleaning pass |
Step 5 Back of coin image prep
Tools Used:
- Gimp
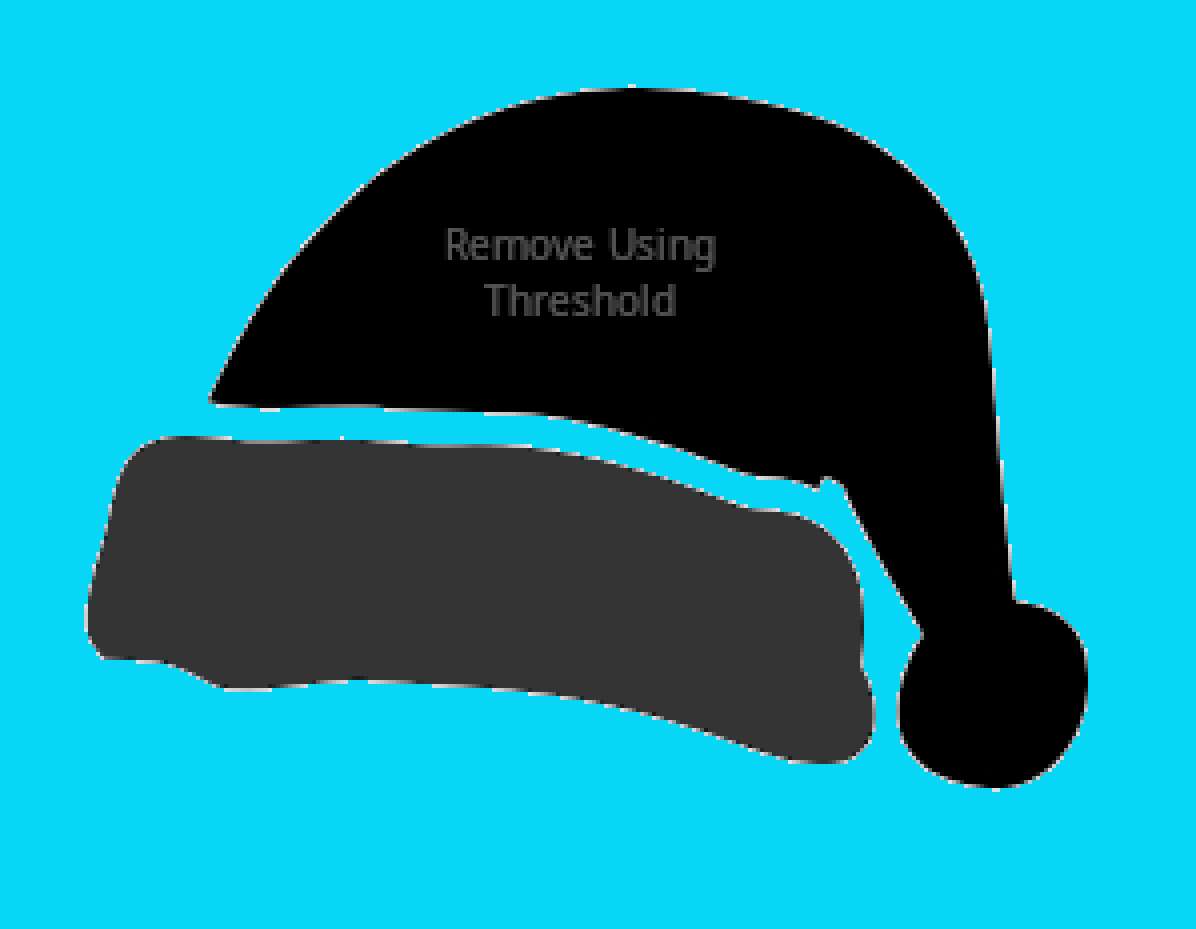
- First thing you need to do is Create an image in GIMP. For this I created a black circle and I used 'Calibri Bold' font for "Merry Christmas 2024" in white text. I created the images on the coin from simple clip art that I enhanced. Meaning I added details to available clip art to make the image pop. For example the holly on the bottom I added veins. If you are using art from different locations and you don't have a pure black or are looking for a better contrast you can use threshold to create this effect.
For example:
I edited this simple black and white clip art to demonstrate. The background I made light blue, the bottom part of hat I made dark grey and I added some simple text to the hat to show how to convert. Note if you are dealing with multiple layers in GIMP, meaning you have added text as a layer, or have multiple images on separate layers, you will need to select the layer you want to edit, or flatten image to apply to whole image if that is what you are intending and if you are done adding all the elements you wish to appear on your final product.
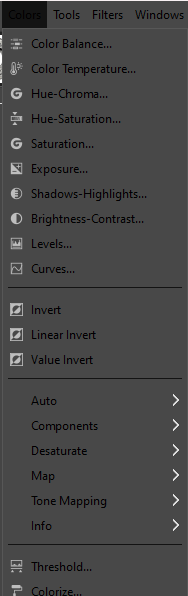
- On menu bar Click "Colors" --> "Threshold" (towards bottom of menu).
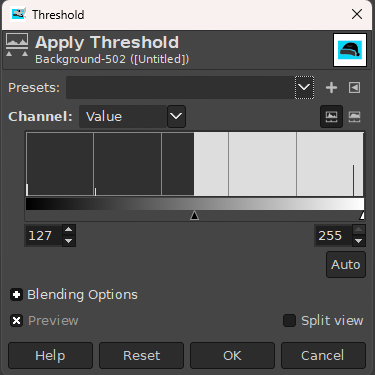
- You can use the slider here in threshold to adjust if some details are not black or white enough.
- Altered clipart appears as such:

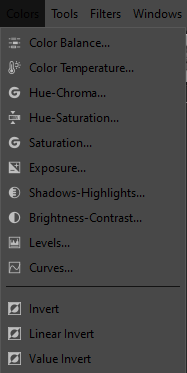
- I inverted the images I was using, changing all black to white and white to black. I did this by selecting the layer that the images were on and then on the menu bar selecting:
Colors --> Invert
- The result was as follows:

- Place everything where you want it. My final image looked as follows:

- Once again select "Export As" like you did in step 3 and save your image.
Step 6 Back of coin Merry Christmas engraving
Tools Used:
- LaserPecker Design Space
- Now open your Created image of the back of the coin in LaserPecker Design Space. I like to remove any white space I will not be engraving on. Do this with the magic eraser as described in previous steps.
- For this image I did not choose 3d greyscale as I was only removing negative space around text an image. I was not looking for that relief style engraving. I instead chose black.
- Next preview and size your image like you did in previous step 3 to make sure it engraves perfectly center. Again I sized my image to 36.5mm and used the method above to perfectly center. The settings I used for this were:
- Resolution: 2k
- Module Type: 1064nm
- Pass: 25
- Power (%): 100
- Depth: 64
- Frequency: 26
- Followed by a cleaning pass with the following settings:
- Resolution: 2k
- Module Type: 1064nm
- Pass: 1
- Power (%): 20
- Depth: 1
- Frequency: 60
Settings 1
| Engraving MethodPicture |
| MaterialMetal |
| Resolution2 K |
| Power100% |
| Depth64% |
| Pass25 |
| Module Type20W 1064nm |
| Laser Frequency26 |
Settings 2
| Engraving MethodPicture |
| MaterialMetal |
| Resolution2 K |
| Power100% |
| Depth64% |
| Pass25 |
| Module Type20W 1064nm |
| Laser Frequency26 |
| Other ParametersThis was a cleaning pass |
Step 7 Sand and Polish
Tool Used:
- Sand Paper
- 400 grit
- 800 grit
- 1000 grit
- 1500 grit
- 2000 grit
- 3000 grit
- Brasso polish and cotton wheel
As a final step I sanded both sides down starting with 400 grit, and working my way to 3000 grit. This removed some of the lines from the engraving process and left a more defined image.
I followed up with a brass polisher (Brasso), and buffed with a cotton wheel
Design Files
LaserPecker Design Space V2.5.1 or above is recommended.
