Valentine's Day Photo Frame

基本情報
| 機器LX1 |
| 材質木材 |
| サイズ367 x 221 mm |
| 材料情報3mm Basswood Plank, 1.5mm Basswood Plank |
| 制作時間30 分 |
| 彫刻の難易度 |
操作説明
ステップ 1
Open the file and connect the machine. Begin by placing a 3mm basswood plank on the cutting plate. Adjust the focal length, verify the size, preview the position, and determine the engraving parameters. Once everything is set, proceed to start engraving and cutting.
This file is only applicable to 3mm basswood planks. Other thicknesses of wood may not be able to be assembled. Additionally, if you use different materials, you will need to adjust the parameters yourself.
設定 1
| 彫刻方法Fill |
| 加工素材Wood |
| 解像度2 K |
| 電力30% |
| 深さ3% |
| 彫刻回数1 |
| 加速レベル1 |
| モジュールタイプ20 W 450 nm |
設定 2
| 彫刻方法Line |
| 加工素材Wood |
| 電力70% |
| 深さ80% |
| 彫刻回数1 |
| 加速レベル1 |
| モジュールタイプ20 W 450 nm |
ステップ 2
Begin by placing a 1.5mm basswood plank on the cutting plate. Adjust the focal length, verify the size, preview the position, and determine the engraving parameters. Once everything is set, proceed to start engraving and cutting.
This file is only applicable to 1.5mm basswood planks. Other thicknesses of wood may not be able to be assembled. Additionally, if you use different materials, you will need to adjust the parameters yourself.
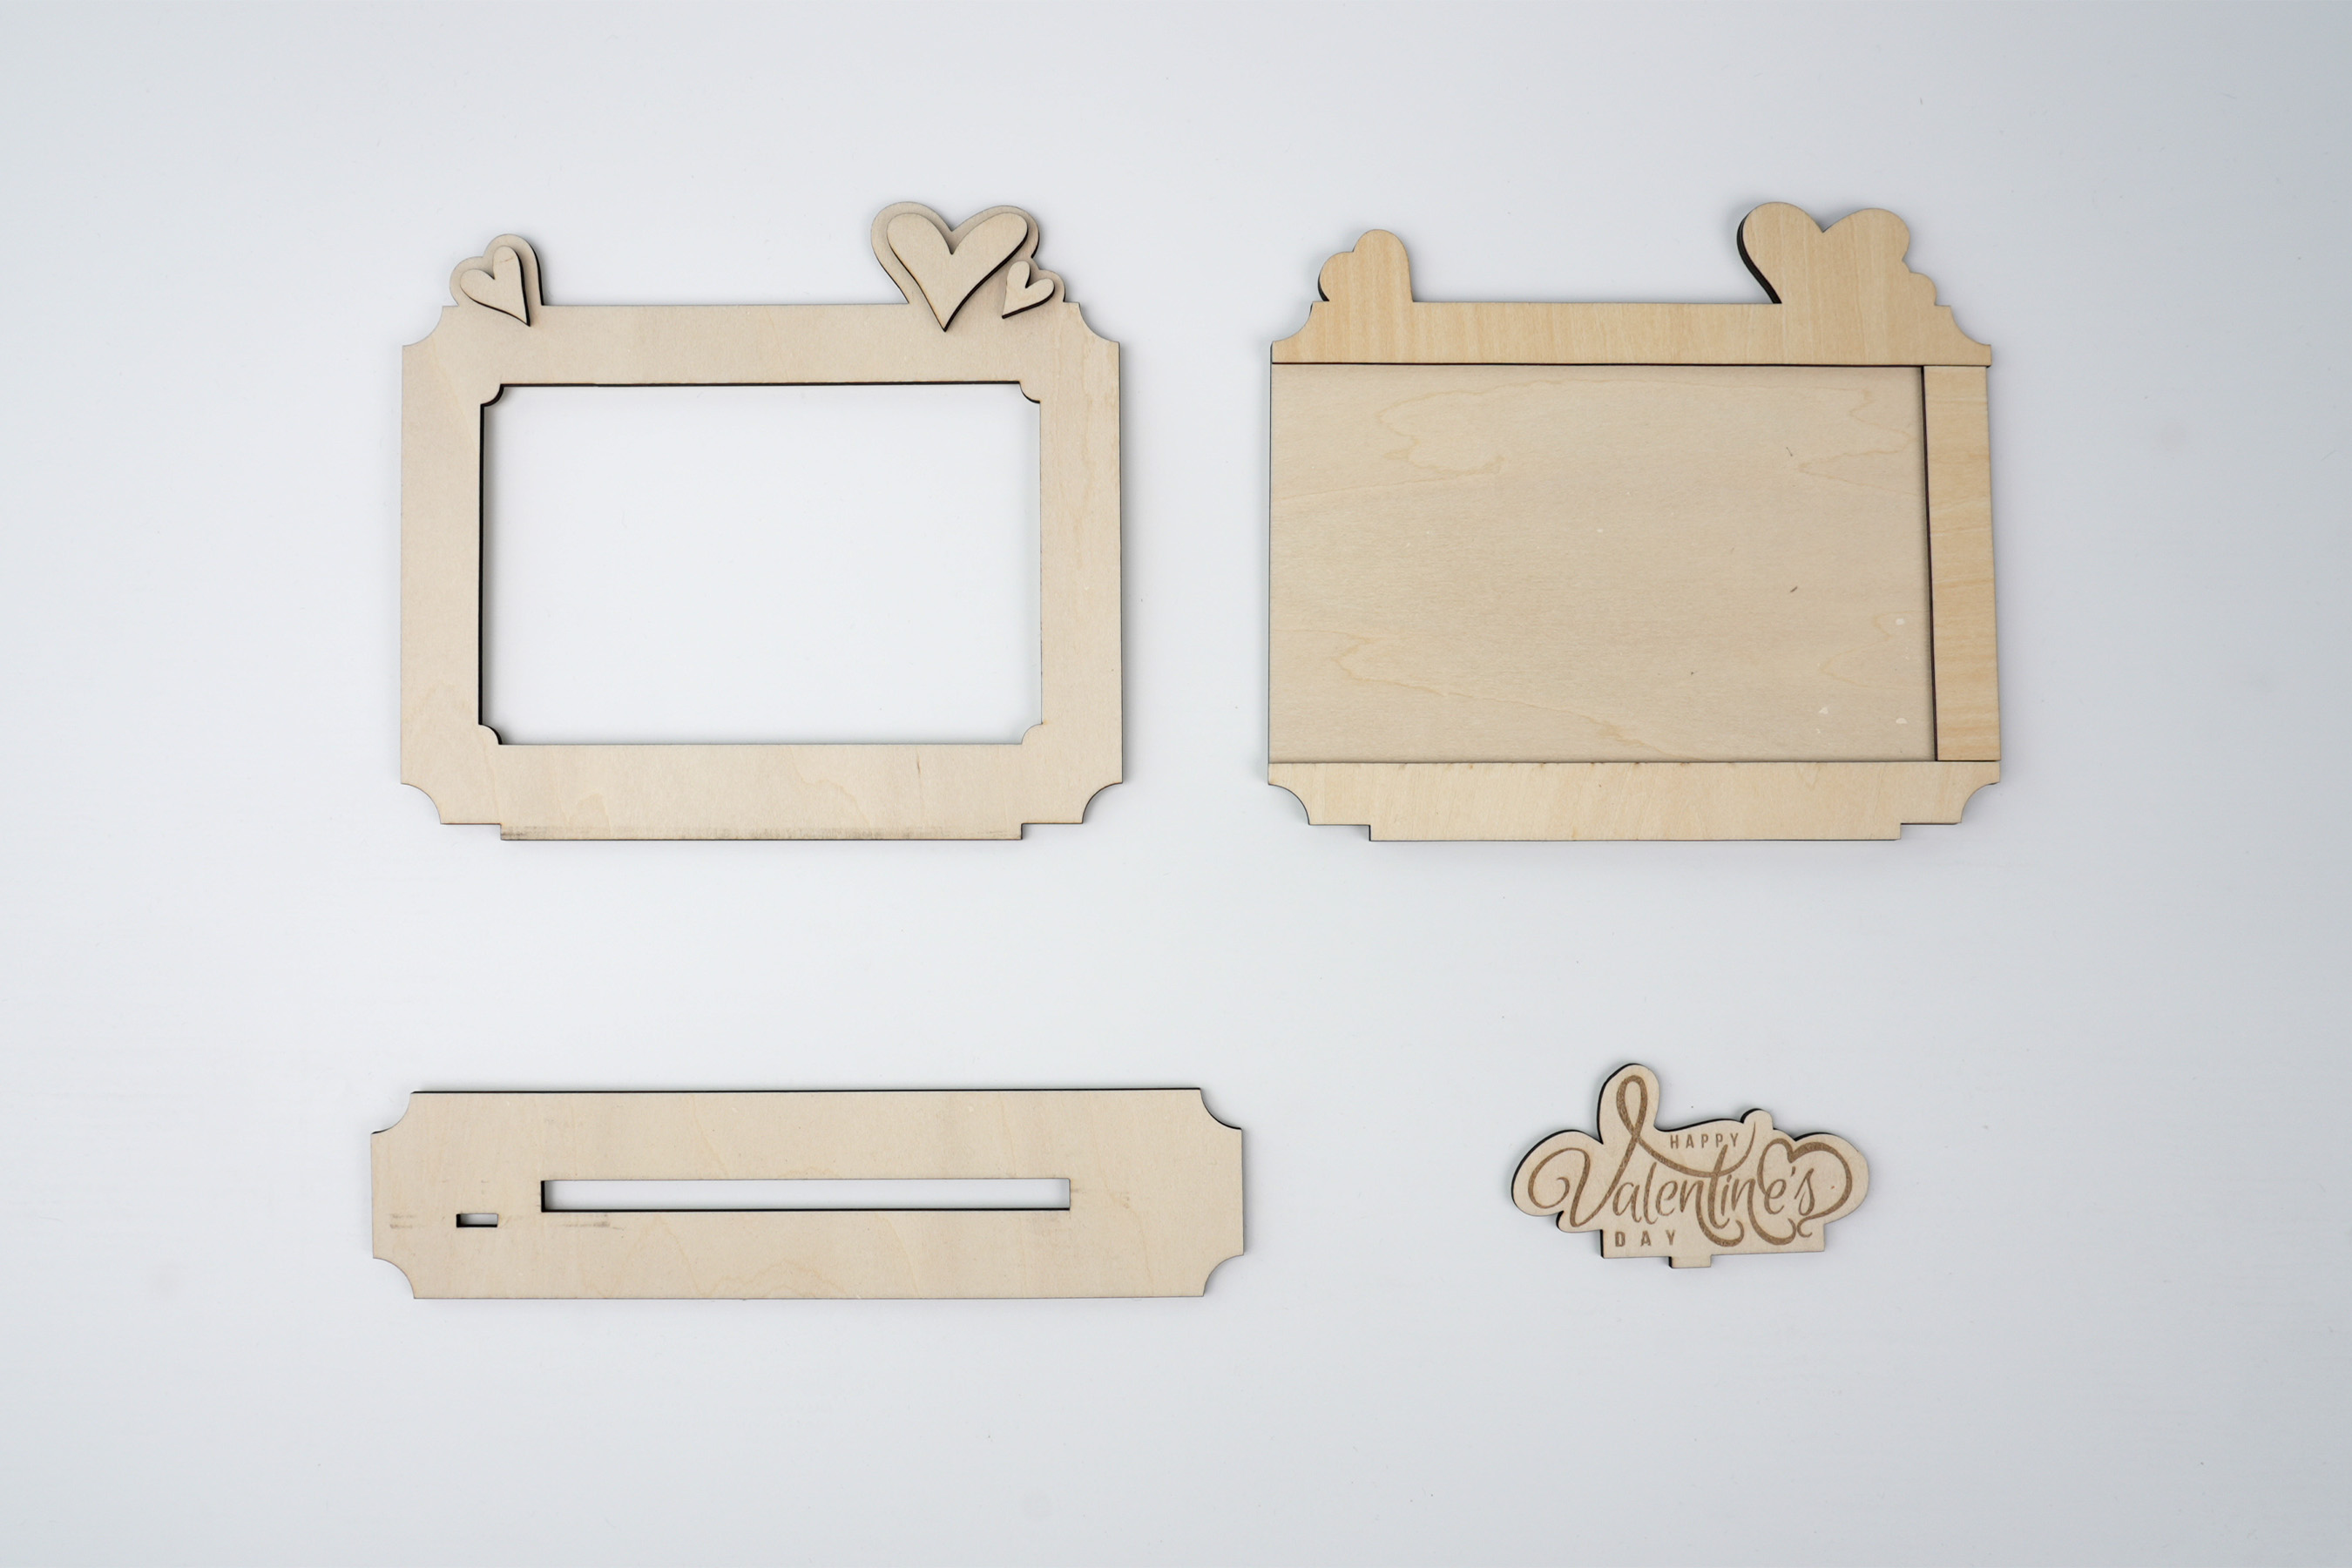
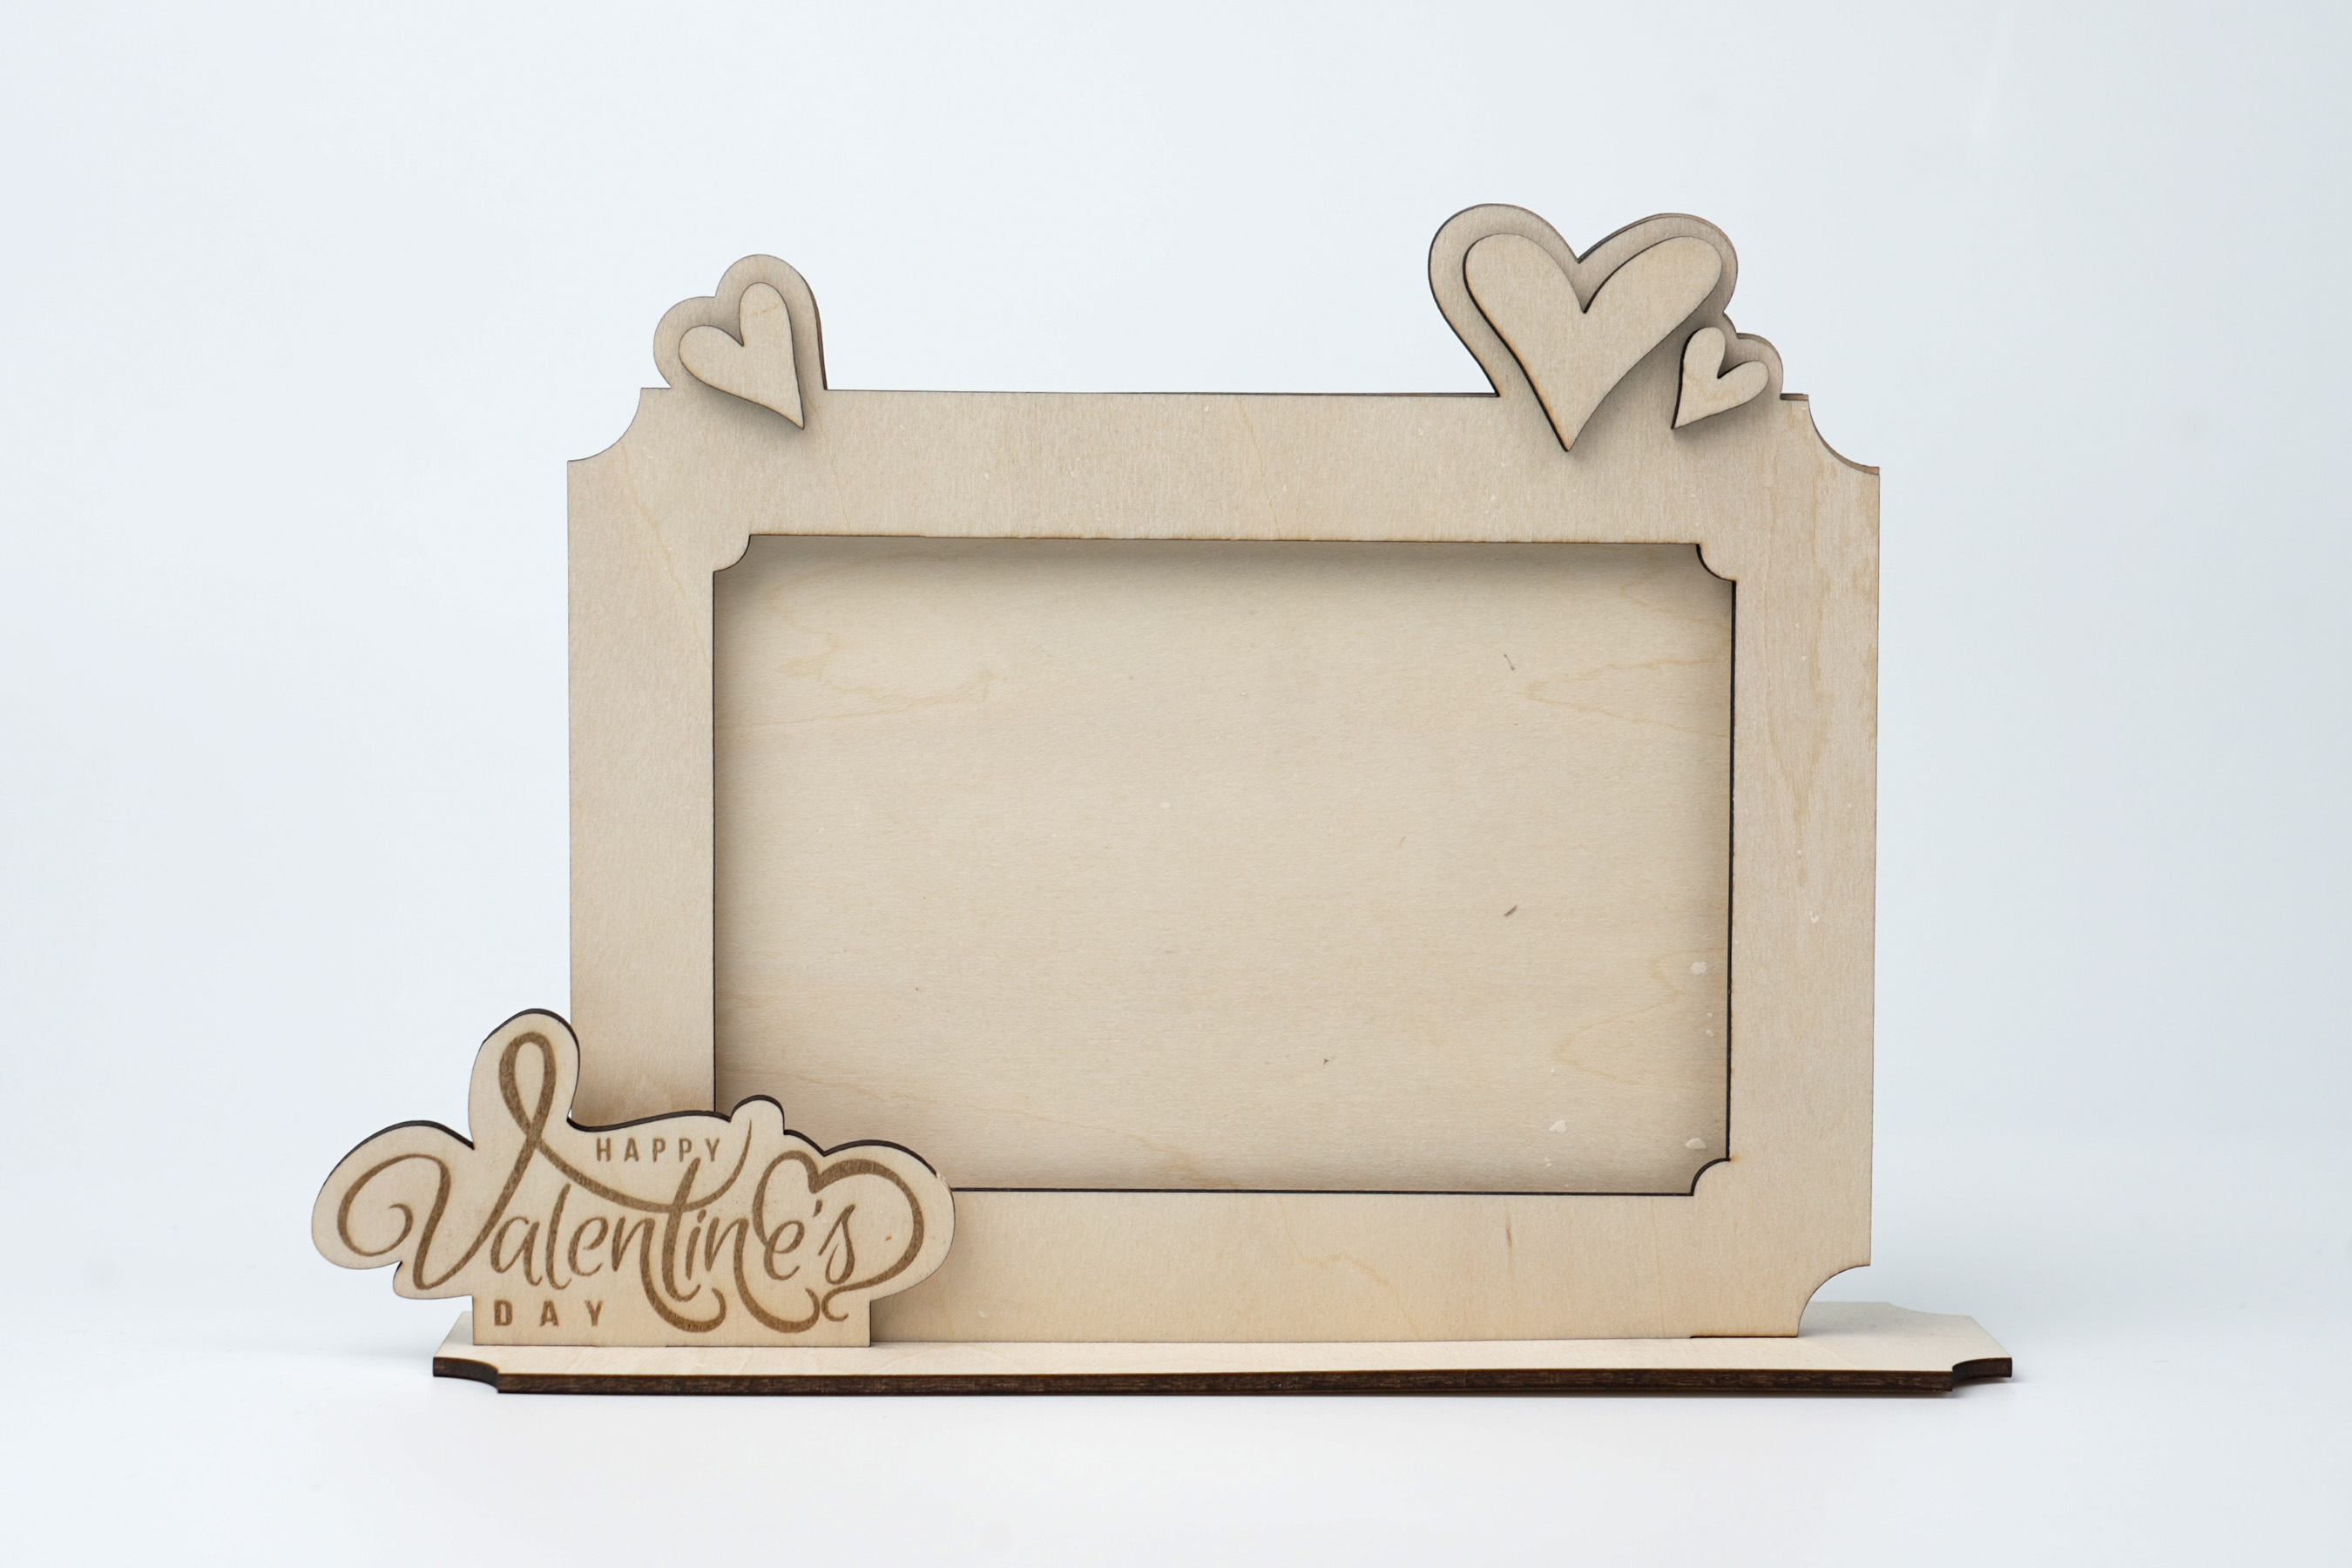
As shown in the figure, attach the 1.5mm wooden pieces to the backboard and press it together with the front board. Add the base and the text plate, and the photo frame is ready. Go ahead and put in your photo.
設定 1
| 彫刻方法Line |
| 加工素材Wood |
| 電力70% |
| 深さ60% |
| 彫刻回数1 |
| 加速レベル1 |
| モジュールタイプ20 W 450 nm |
デザインファイル
V2.5.1以降のソフトウェアの使用を推奨します。
